Topics & Lessons
Add/Edit Website Page
SwellSpace allows the creation of additional website pages to provide a comprehensive and informative experience for employees. Utilize website pages to structure and organize information so that end users (employees) are able to navigate your website easily and efficiently.
Before creating additional pages, it is important first to think through what information you would like to include in your benefits or HR website. Then, decide what pages to create and house the information in an organized manner. See the example below.
Examples of benefit information to be included in a benefits website:
- Medical insurance
- Dental insurance
- Vision insurance
- Short term disability
- Life insurance
- Pet insurance
- 401(k)
- HR contact
- Broker agent contact
Using the list of examples above, we would recommend creating a Healthcare page, a Voluntary Benefits page, and a Contact page in addition to the home page to organize and house the information. See below.
Example of benefit information organized by page:
- Home page
- Healthcare page
- Medical insurance
- Dental insurance
- Vision insurance
- Voluntary Benefits page
- Short term disability
- Life insurance
- Pet insurance
- 401(k)
- Contact page
- HR contact
- Broker agent contact
Once you have a page and content plan or site map in mind, you’re ready to add pages to your website. Adding pages to your SwellSpace website is easy. Navigate to the individual editor of the website you’re working on. Once you’re in the editor, find and click on “Nav” on the left-hand side menu.
Note: adding and editing page names and URLs can only be done from the home page.
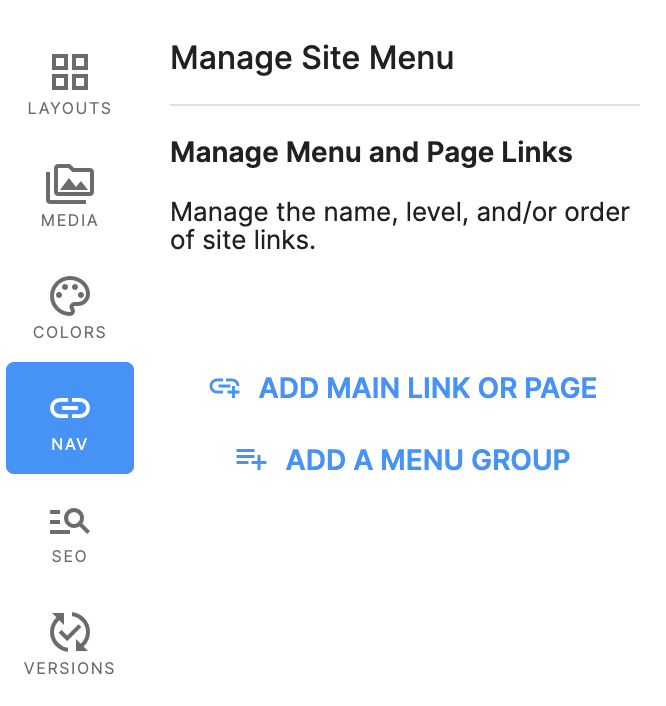
Click on the “Add main link or page” button. SwellSpace will prompt you to provide a page name and the site path (URL) for the page. Continuing the Healthcare example above, we’ll create a page for “Healthcare.” See below.

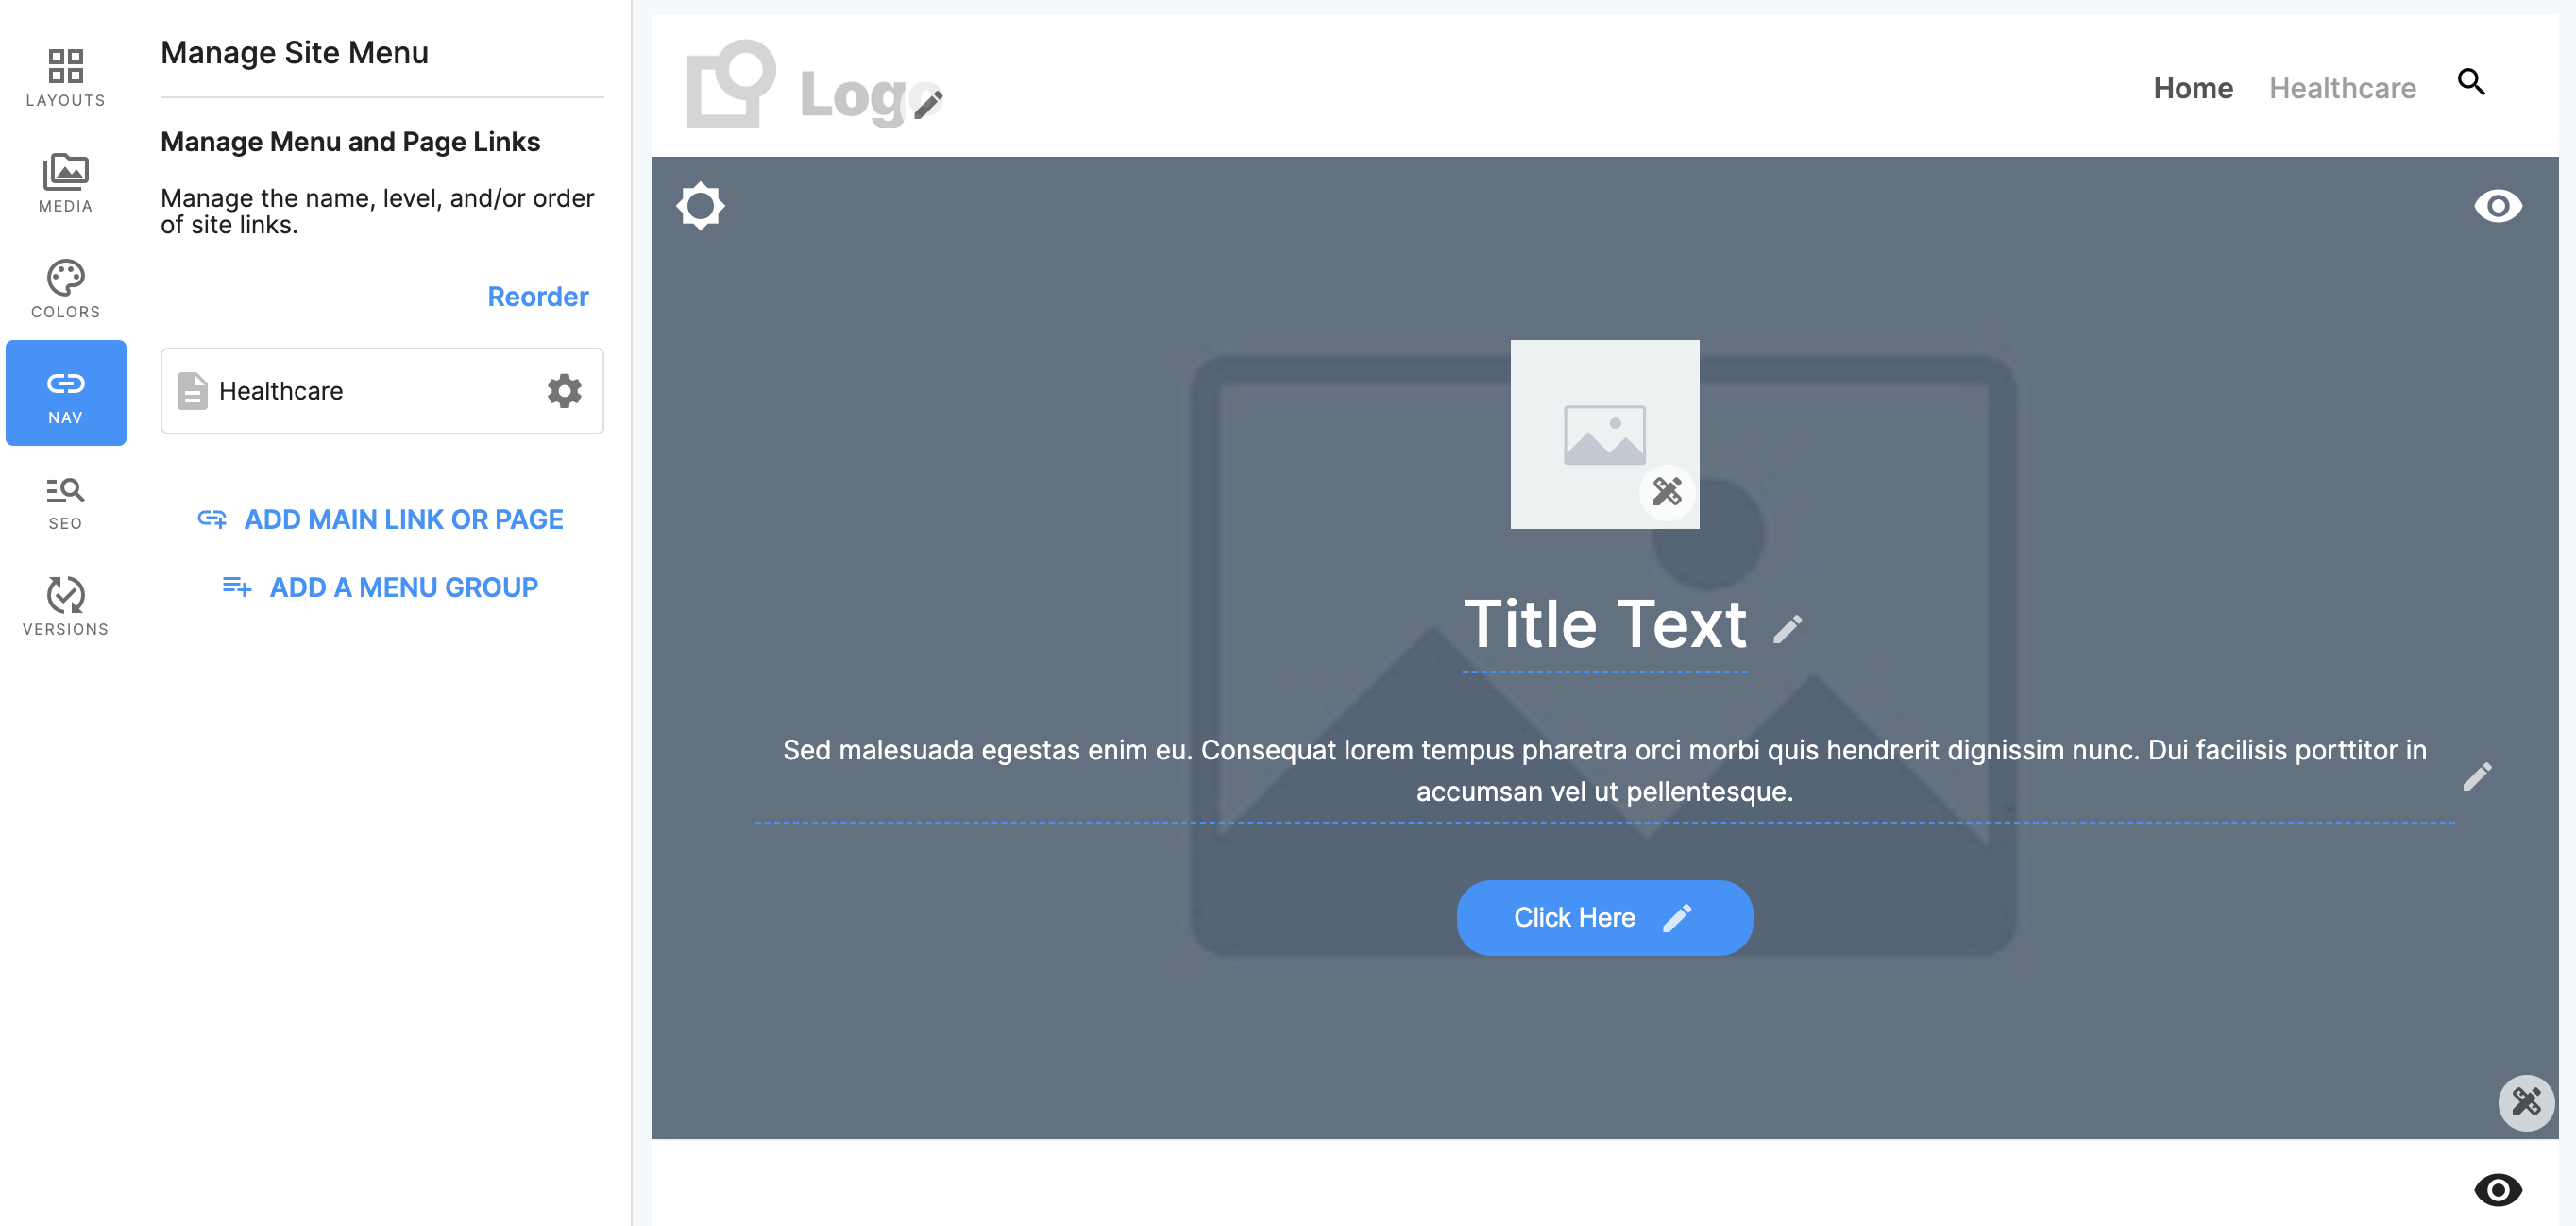
Make sure to click on the “Save Page” button. Once you save the page, you will notice that your new page has been created by looking at the left-hand side menu under pages. By default, SwellSpace creates a corresponding menu item, in this case, “Healthcare” now shows on the website’s top navigation bar. See below.
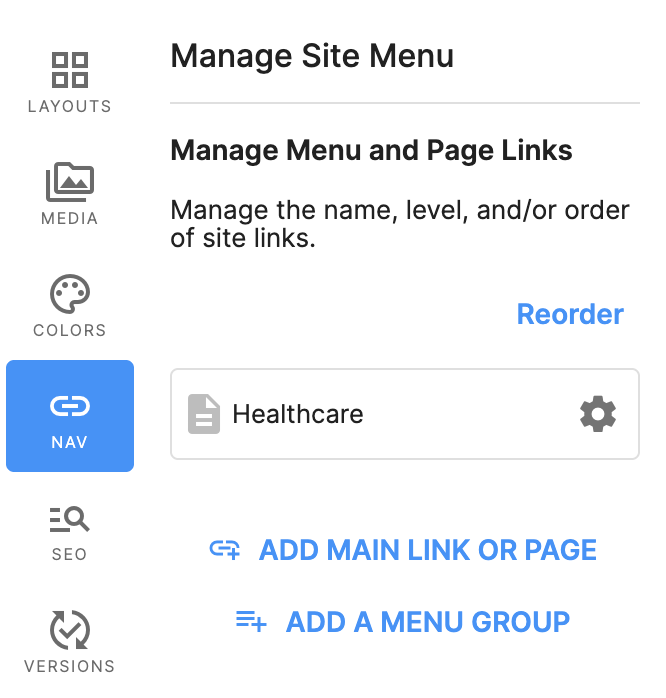
Once a page is created, you can edit the page name and URL by clicking on the “Configure” gear icon under “Nav”. See below.
In the event that you would like to create a website page but NOT include it as a menu item on the top navigation menu of the website, click on the “Configure” gear icon and click on the eye icon to hide the page from the menu. See below.

- If the menu item is hidden, the page will have an orange underscore. See below.
